MA37 Assault Rifle
- josephaguilarsanch
- Aug 25, 2020
- 3 min read
Updated: Sep 20, 2020
With the release of Halo: Infinite some time next year, I thought it would be nice to add one of the most aesthetically pleasing UNSC weapons to my collection.

WIP
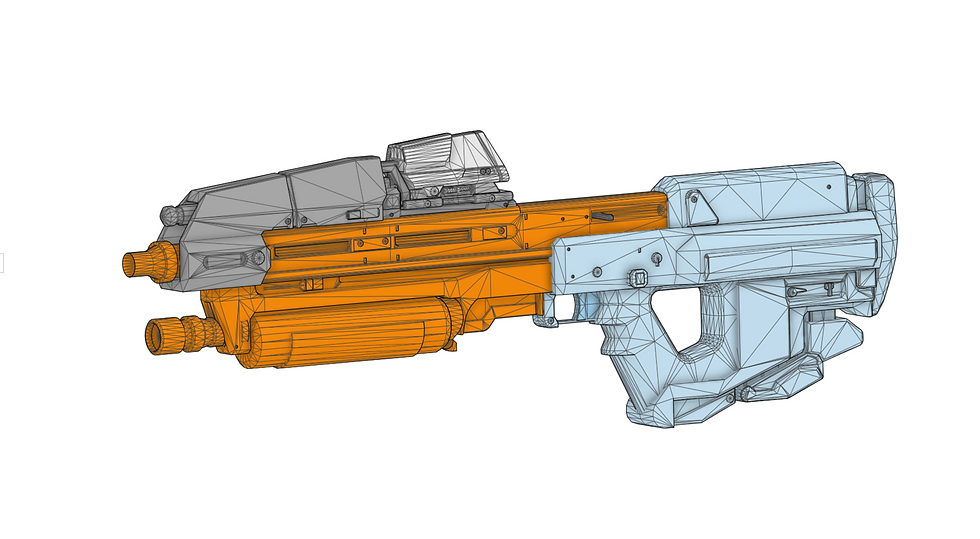
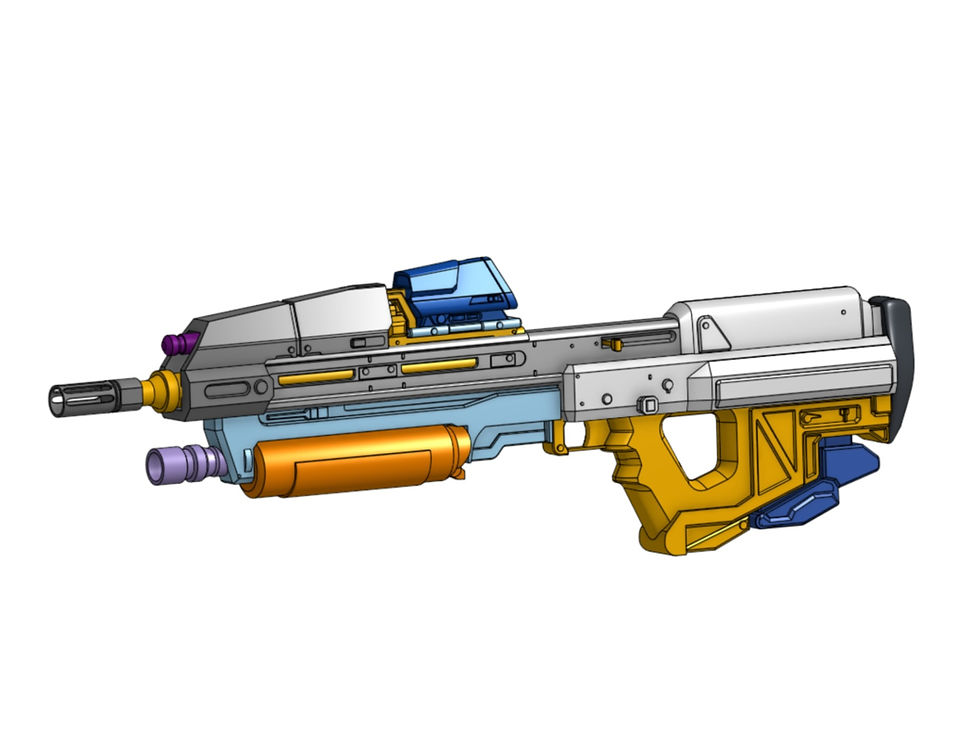
Pictured above is my initial modeling of the AR based on referencing game files. Essentially, I converted game files to .obj files so that I could import them as a mesh. While meshes can be converted into 3D models (you can check out my tutorial on how to do so using FreeCad here), you're typically only going to get some solid pieces out of it with a lot of singular surfaces. After working with the mesh I can tell you that this would have been the case with this asset.

Here you can see the actual mesh pieces I was using as my reference. While converting meshes straight to 3d models is tempting as you can cut down on a lot of time, modeling from scratch does have its advantages. As you can see in the first picture, I don't have the polygon look of the mesh because I only used vertex points on the mesh to reference shapes, proportions, sizes, etc.
For the actual modeling itself, I heavily used a couple of techniques, a lot of the modeling consisted of using one of the three core planes (front, right, top) as well as a reference point on the mesh to create a plane, then projecting mesh points onto that plane and connecting the points to create a shape that I would extrude or loft into another shape. While this techniques works for a lot of reference modeling it loses its effectiveness once you get to real complex curvatures (I especially see this as the Halo games progressed and the models get higher poly counts). If you want to see an example of this look at the stock pad on the mesh vs the stock pad in my model above. You can see that I do not have any vertices on my version where as the mesh is a real pointy mess if you actually inspect it closely.
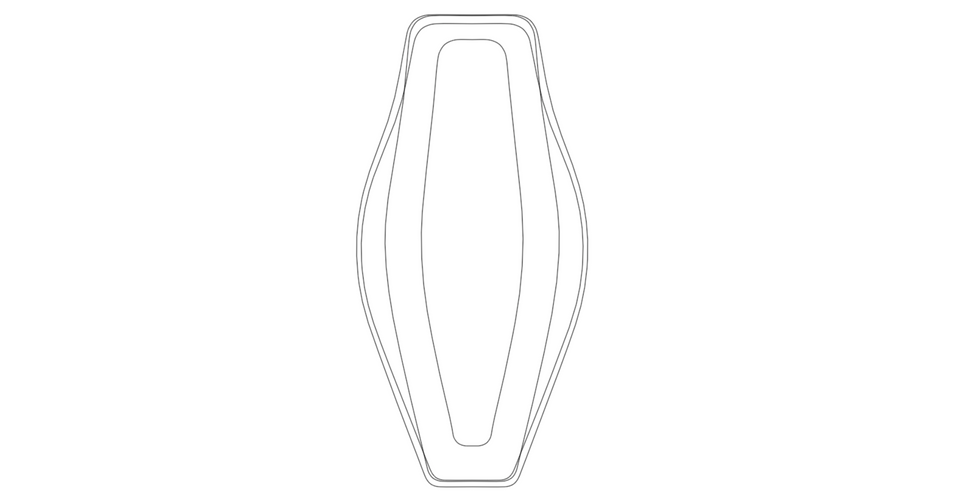
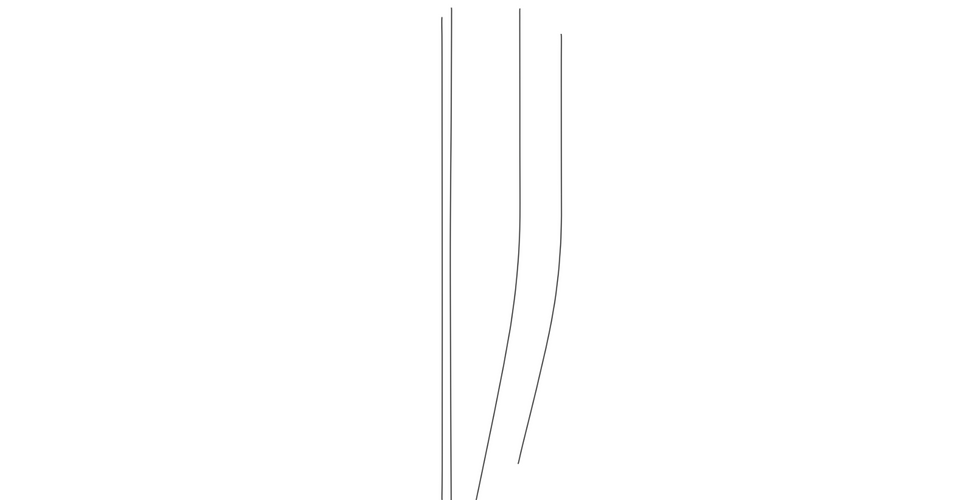
To accomplish this, I employed a new technique of projected curves. Essentially, creating a sketch of the side, top and/or front profile of an object and projecting them onto each other in order to creates curve in 3 dimensions
In the above slide show you can see the thought process that goes through making objects with complex curvature such as this stock pad. First I get a front profile, then a side profile (these are four different sketches per side btw), next once I project them onto each other I get a Curve (different type of object, no longer a Sketch since it is in three dimensions). I fill the Curve to get a Surface, then I loft those surfaces to get the Stock pad itself. It is also worth noting that you don't want that many corners in any of your sketches that you use in the projection as it will make filling it into a surface impossible or give you a horrible looking surface, try to use splines or tangent sketch fillets where possible. One thing to also consider is to add some guide curves that connect the different surfaces before you do the loft, but I was happy with how this turned out.
Current Status
Currently, I have merged many of the parts (around 79), to get it down to around 17. I merged parts so that they are in a more easily printable and in such a way that I don't have to slice them in awkward places that create ugly seams.

The next steps will be to add additional details that only exist in the texture assets, and to tweak the models so that they align and fit together easily. The MA37 will get its own dedicated blog post once I at least finish the test print, so stay tuned!


Comentários