Don't be a clod and make your very own sweet and lovable Peridot

Now you can own your own replica of the Gem of the objectively best Crystal Gem and the leader of the Crystal Temps
Major Features

Peridot Gem
Peridot's Gem is included as a standalone if you just want to print it out without all the resin casting process and paint it.
Gem Stand
I also included a vary simplistic Gem Stand. I would recommend scaling the stand depending on how secure you want the Peridot Gem to be.
Resin Gem Casting Kit
Here is the bread and butter of the model. Included in the resin kid is the Peridot Gem Plug, the Mold Shell and the Mold Base. Once you've sanded down the Peridot Plug to the desired smoothness. You'll be able to assemble these pieces together to allow you to pour in your molding agent (I use Oomoo rubber). Then you can easily remove the thin mold shell and base and cut out your original plug. Then you can finally pour in your resin to create your Peridot Gem! More details and pictures are included in the Builds section.
By using a custom shell, I am able to minimize the necessary amount of Rubber needed and therefore reduce overall cost and make de-molding and reusing the mold much easier.
Rubber Required: 95.7 mL
Resin Required: 39.4 mL
Of course you should add a little bit of rubber and/or resin on top of this to account for Rubber/Resin sticking to the sides of your mixing container/mixing stick.
Builds

Here we can see the Peridot Gem resting next to my Peridot Funko Pop
Below you can see the full process starting from a smooth, sanded Gem Plug all the way to the finished mold, ready for Resin Casting.
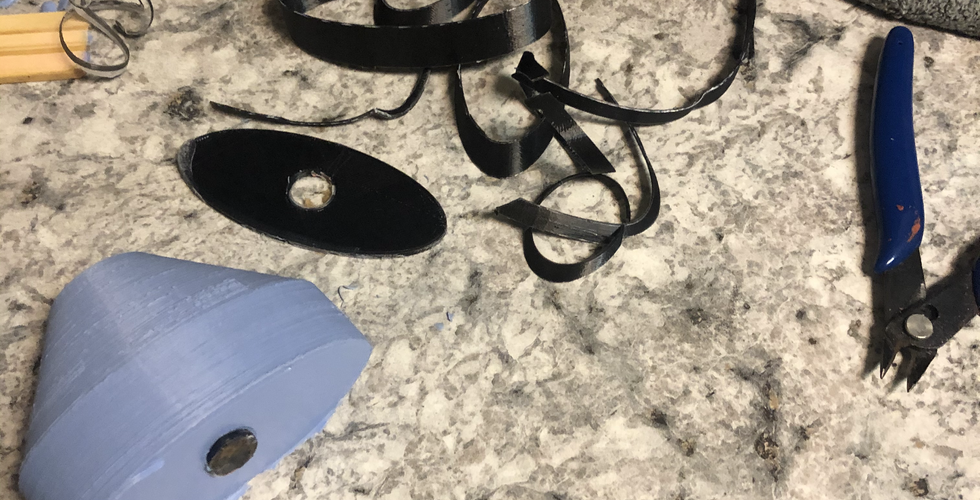
Notice that I like to the glueing of all the mold pieces on top of some flat piece of cardboard just to ensure everything fits together correctly and that the glue seals everything so that no rubber leaks out. Next I poured in my rubber and let it harden before cutting the shell off.
In other builds like my ODST Visor, I was able to remove the shell without destroying it. This is optimal because for other resin builds, the rubber is thin enough to wear the resin inside actually pushes on the walls and deforms the shape. The rubber here is thick enough to resist that but for other resin castings I have saved the shell or even quickly printed another in order to make sure everything stays the same shape when I pour in the resin.
One thing that I will add is that the top of the gem can develop a lot of cavities due to air bubbles if the resin is not degassed properly. I will eventually make a post about how I de-gas my resin but for now you might be able to get away with just mixing it slowly and letting it sit a while before casting.
What Next?
If you are looking to create you own models like this one feel free to checkout all of my tutorials on 3D modeling and prop making techniques.
If you are looking to purchase the model so that you can print your own you can find it in the store.
Lastly, make sure to check back in every once in a while to see what I've been working on
Thank you for your time


Comments